
I’ve never written a food post before. But due to popular demand here is my first!
Food is a huge part of travel. It’s tied to history and culture and when we travel part of the way we experience another country is through what we eat.
So what’s that got to do with scones?
Well, scones are my grandmother’s specialty. I’ve watched her make them countless times over the years as I grew up in New Zealand. Whenever there was an occasion in the family my Grandma would make scones. The scone recipe is so ingrained in her that she doesn’t even use measurements anymore and does it all by muscle memory, look, and feel. Whenever I bought scones out in cafes I was always disappointed because they weren’t as good as my Grandma’s!
And it’s not just me, my Grandma won competitions with her scones too!
Then I moved to Scotland.
Scones are big here, literally and figuratively. In my early days of cafe hunting in Edinburgh, I came across them almost everywhere I went. It became usual for me to get the soup of the day followed by a big, delicious scone. Scones are popular all over the UK, especially as part of afternoon tea, but I seem to associate them more with Scotland since I moved here! Most of the Scottish scones I’ve had are pretty good, although I still sometimes miss a good batch from my Grandma.
Where do scones come from?
There are actually some who would claim that scones were invented in Scotland! The first mention of them is in a book translated by a Scottish poet in 1513, and some even say they were named after the Stone of Destiny, also called the Stone of Scone, after where it was kept in Scone Abbey near Scone in Scotland. Sensing a theme there…
In any case, scones remind me of both New Zealand, thanks to my Grandma, and Scotland too. So when I was speaking to my Grandma recently I decided to take a little trip down memory lane and get her scone recipe, in the hopes of being able to re-create them for myself.
This wasn’t as easy as you might think, and involved me holding up a block of butter and milk and her estimating how much she would use. But we got there in the end!
What’s the difference between scones and biscuits?
I know many of you are side-eyeing me with this question because if biscuits to you are a sweet snack that comes in many varieties, you’re wondering how on earth I could confuse one with a scone. But when I moved to the USA I was introduced to their version of “biscuits”, which incidentally looked somewhat like a scone. Except they cover them in sausage gravy…
So for those of you wondering what a scone is (looking at you, Americans!), it’s basically like a biscuit. When I was looking up the difference a lot of websites mentioned that scones have eggs in them, which just isn’t true. I’ve never made a scone with egg in it before! Maybe some do but I wouldn’t say it’s a common scone recipe.
It seems like the difference is more in the fat or sugar content. I’ve also never used sugar in a scone although some people might, but scones do have almost twice the amount of butter as a biscuit. They’re also usually served with jam, cream, or butter (or all three!), unless they’re specifically a savoury scone, like the cheese scone which is popular in New Zealand. In the USA biscuits are usually served with a gravy or savoury dishes, more like a bread.
Anyway, if you feel like indulging in a bit of British baking, then making scones is a great idea! They’re fairly simple and don’t use too many ingredients.
So here we go! I’ve laid out the ingredients and the basic method, and then step-by-step photos with more explanation underneath.
Grandma’s Scone Recipe
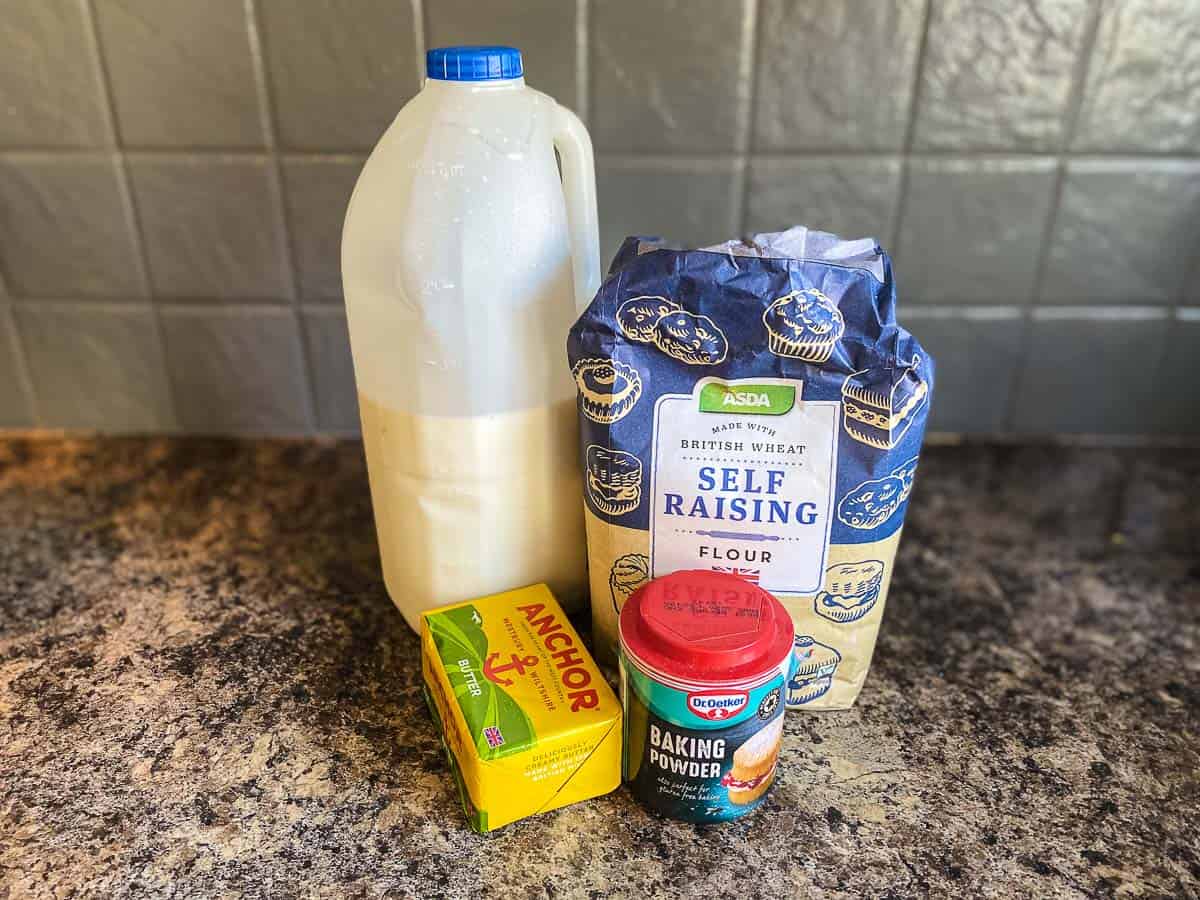
Ingredients:
- 4 cups of self-raising flour – (500g)
- 4 tsp of baking powder (technically this is already in self-raising flour, but I usually add it anyway) – (16g)
- 100g butter (3.5oz)
- Approximately 1.5 cups of milk (350ml)
Method:
- Turn the oven to approximately 180C Fan/220C normal (350/475F)
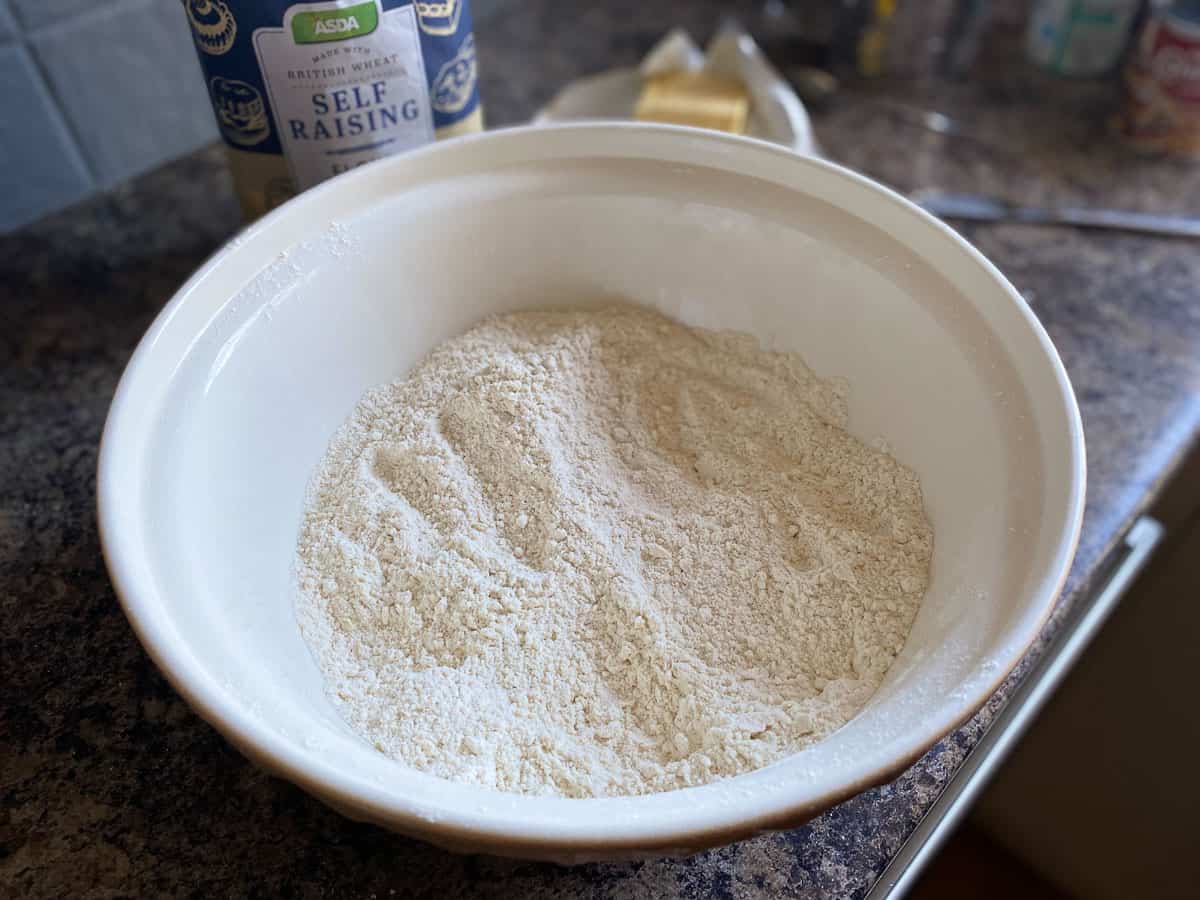
- Sift flour and baking powder into a bowl
- Slice butter thinly or grate into the bowl
- Rub the butter into the flour with your fingers
- Add milk gradually and use a fork to bring the mixture together
- Tip onto a floured mat or benchtop
- Use your fingertips to bring together more and the flatten out
- Cut into even triangles or squares, or use a cookie cutter
- You can brush with milk or egg on the top if you like but not necessary
- Bake in the middle of the oven for approximately 10-15 minutes, depending on the heat of your oven. I usually do mine for around 12 minutes. Check the bottom of one is slightly browned which will tell you they’re ready.
- Put on a wire rack to cool
- Place in an airtight container or wrap in a tea towel to keep them soft
Step-by-step photos
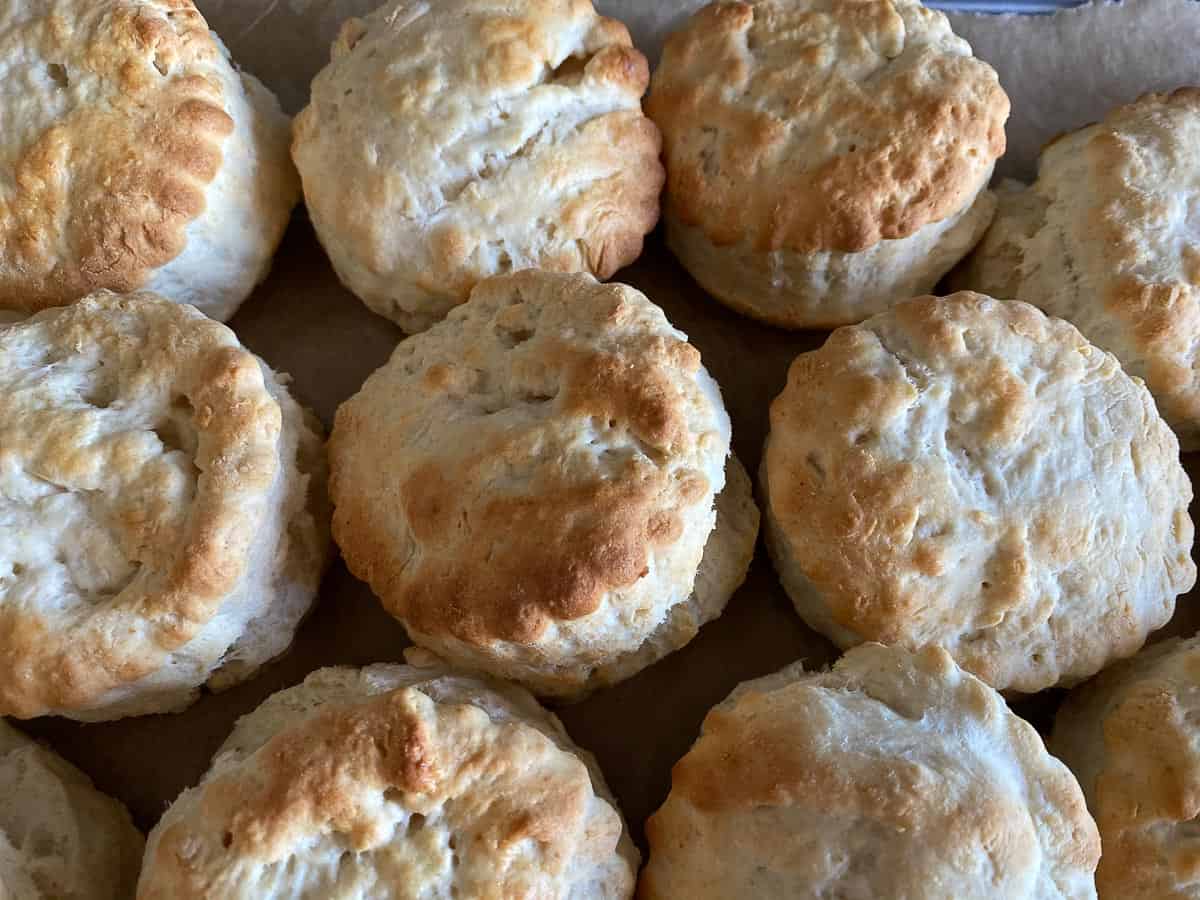
I took some photos as I made my latest batch so that you can see a step-by-step scone recipe and what it should look like at each stage. I’ve also included a few more tips!
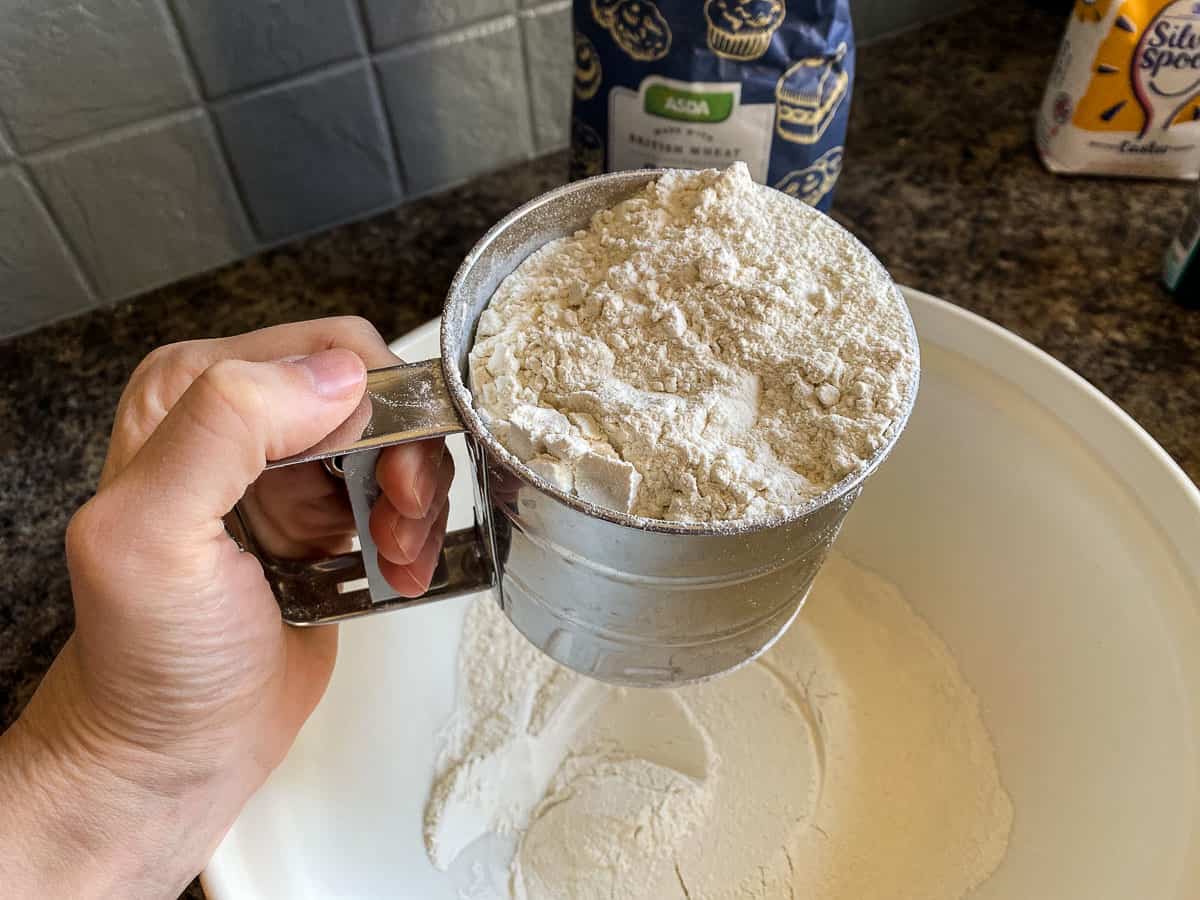
- Sift flour and baking powder into a bowl
My Grandma said you can use 4 “good” cups, as in don’t worry about levelling them off too precisely. I use baking powder although I do use self-raising flour which technically already has a rising agent in it.
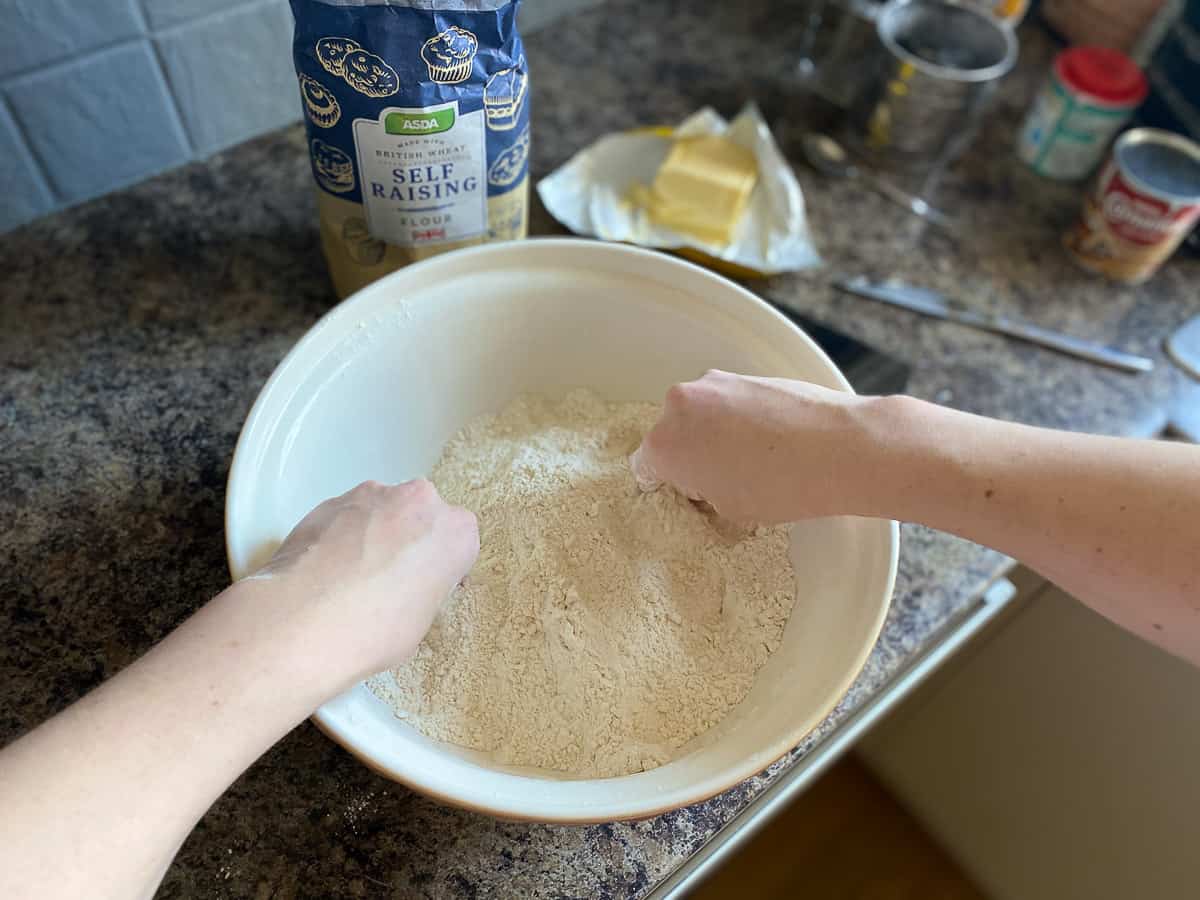
- Rub the butter into the flour with your fingers
You have to get your hands dirty! There are some tools you can use to help with getting the butter and the flour mixed together, but I don’t have one so I just use my hands. DON’T MELT THE BUTTER. It’s tempting to think you can melt it and mix it in but it doesn’t work. You can take the butter out of the fridge to let it soften up a bit, otherwise you’ll need to cut it really finely in, or even grate it if it’s hard from the fridge.
Rub the butter into the flour with your fingertips, and keep feeling around for any lumps. It should end up looking like a bit like breadcrumbs, like in the second photo.
You can add extras at this point if you like. Popular extra flavours include sultanas or grated cheese.
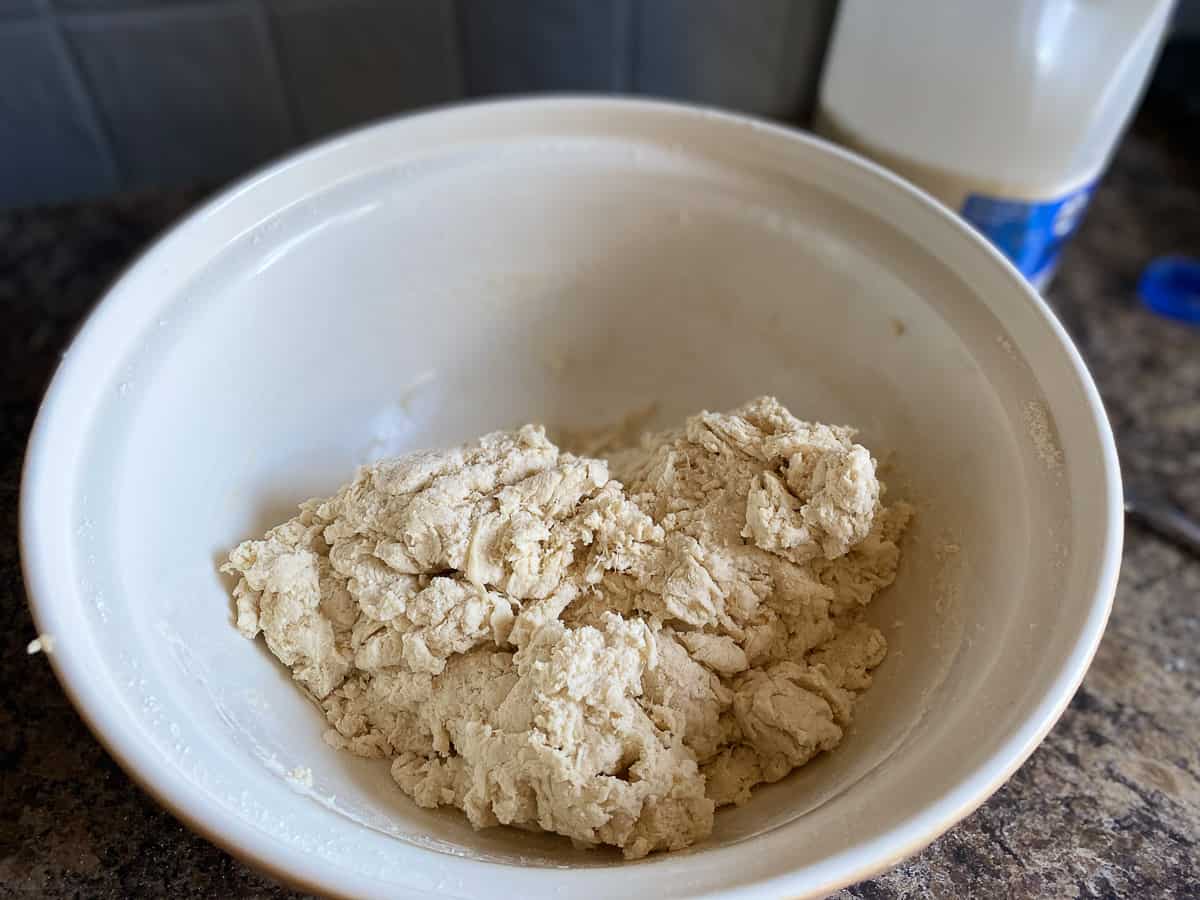
- Add milk and use a fork to bring the mixture together
Some people use a knife but my Grandma uses a fork. You can tip the milk in and then take the fork and sort of stir it up and try and pull it together. The mixture shouldn’t be too wet, or too dry. It’s a bit of a fine line!
Once you’ve used the fork to try and bring it together you might need to get your hands into the bowl too. Try to just use your fingertips to work some of the loose bits into the dough. If the mixture if really sticky then you may need to add a little more flour, or if it’s too dry and not coming together then gradually add more milk until it does.

- Tip onto a floured mat or benchtop
- Use your fingertips to bring together more and the flatten out
You can work the dough a little more on a floured benchtop or mat, but you don’t want to overdo it! My Grandma definitely stressed the need to just use your fingers in working it together, you don’t need to knead it like bread.
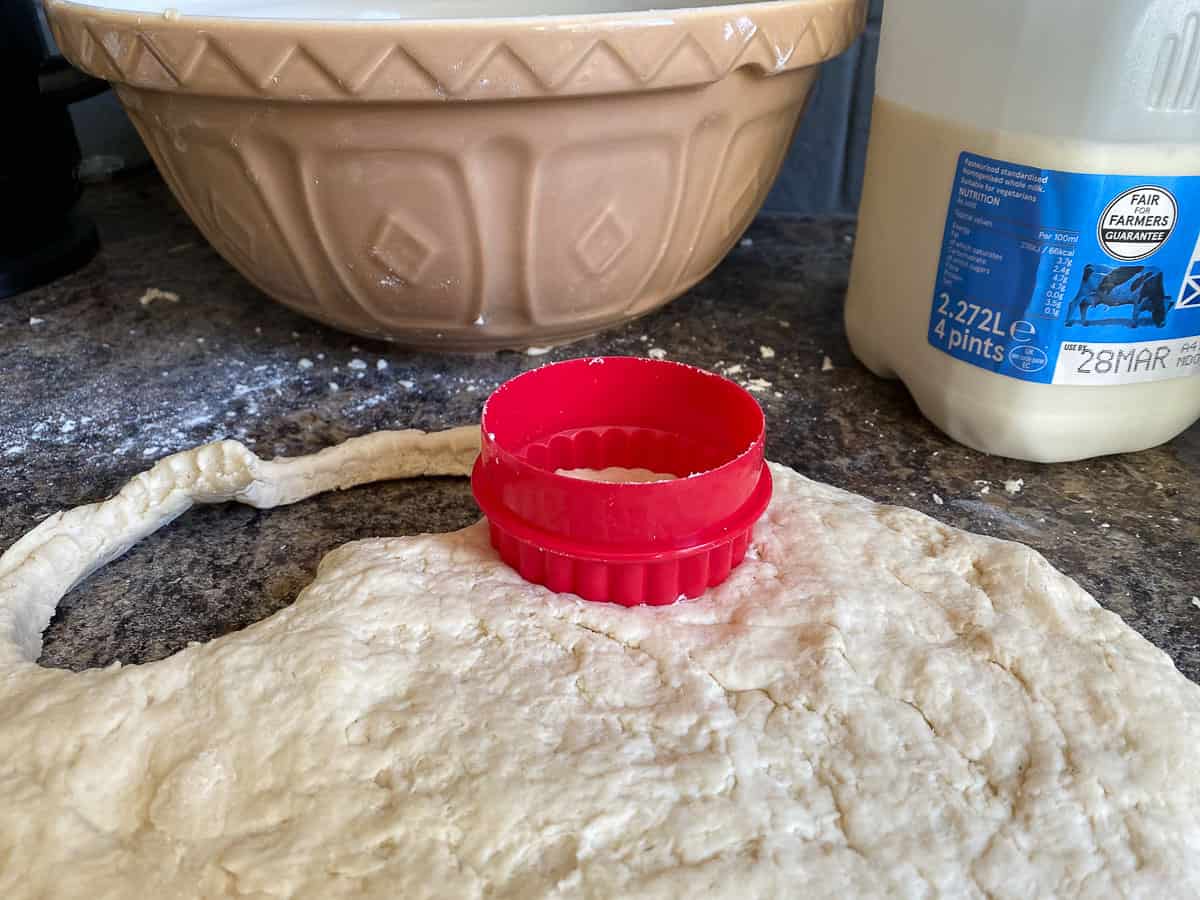

- Cut into even triangles or squares, or use a cookie cutter
My Grandma had a similar metal cookie cutter that she always used for the scones, so to me, this is scone shape! You can just cut the dough into squares or triangles though, or even use the rim of a glass dipped in flour then pushed down into the dough to make circle scones.
If you’ve made cheese scones you can top them with a little grated cheese too.

I brushed the top of these scones with some milk and baked them in a 200C fan oven for about 10 minutes. There is some variation based on ovens and what temperature you go with but I usually go about 200C with ours. You’ll get to know your oven!
Usually, I serve them with either butter and jam, or jam and cream, but in this case, we only had butter in the house so that had to do!
This recipe made about 18. There always seems to be one little one at the end no matter how much mixture you make! If that seems like a lot, you can actually freeze scones. Put them in a bag and squeeze out as much air as you can. Of course, my Grandma had a special tool for getting the air out of bags too! I don’t even know if you can buy them anymore…
When you want to eat one from the freezer just get it out and sit on the kitchen bench until thawed, it won’t take too long, or put in the microwave on 10-second blasts until it’s done. It’slways nice to reheat a little anyway!
And that’s my Grandma’s recipe for scones, made in Scotland!
Sonja x
Lovely! Will try both savory with cheese and sweet for strawberry jam. Looks fun!
I am definitely going to try this recipe out. Hopefully I will be more successful than with the other recipe I tried
Thanks! Hope you do!